Gel polish: nail design step by step (photo)
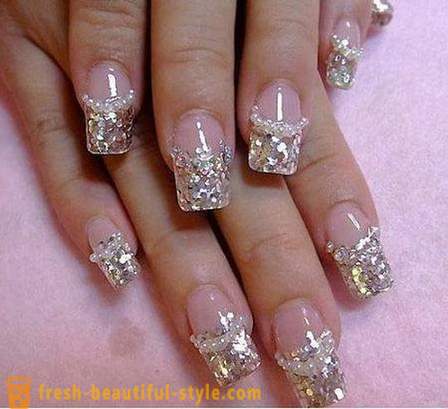
In recent years, perhaps the most popular, modern, fashionable and popular in manicure nail design is considered a gel varnish. Master nail service mark incredible comfort coating as compared with the building, and the grateful client impressed with extraordinary gloss, which is able to be stored for a long time. The material presented is safe for nails. To beautiful manicure on nails lasted 20 days, must be precisely and comply with all the nuances of the coating technology. So let's talk in more detail about what is a nail design gel varnish.
What you need to do to cover last a long time?
Of course, the gel nail polish - a design that has translated nail services as a whole to a new level. However, there are frustrated client who notice on its high-tech manicure cracks and appreciable delamination on the second day after a visit to the master. To avoid such troubles, you must adhere to a specific algorithm.
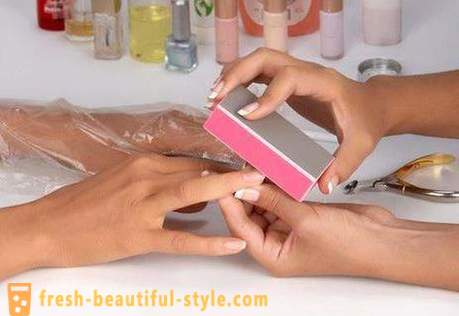
The first stage. Preparing the nail plate
In no case can not apply the gel varnish (design, photos of works of masters we have presented in this publication) on unprepared nails. This moment can be considered as the main mistake leading to the fragility of the coating. The free edge of the nail has to be cleaned from tiny impurities and have a perfectly straight line.
If the nail plate in some places stratified necessary trim sawing surface (240/240 or 180/180). Sometimes, before applying gel nail polish is advisable to do a manicure, but in the case of oils and creams surface should be thoroughly cleaned and dried. The cuticle on the nail plate will also be a hindrance durability manicure. Thus, high-quality design nail gel polish is only possible with the full cleansing of the plate and giving a working surface of an ideal smoothness.
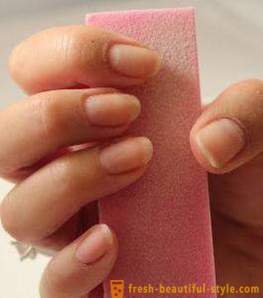
Step Two. Removal of the top keratin layer of nail
At this stage manicurist buff should use high abrasiveness, and removed from the nails need only gloss. That's the second mistake, which leads to fragility represented by the coating. If you do not perform this procedure, the gel and varnish hybrid very soon after application may begin to break away. Touch the treated buff nails is absolutely forbidden! Before applying gel nail polish (photo nails, authors design you see in the present article), you must also get rid of the residual moisture and produce filing. To do this, use a dehydrator, a special low-fat composition. Thus, the master can achieve maximum adhesion of the coated nail plate.
Step Three. Priming
This step is necessary in the event that the nail plate is weakened after the removal of the previous coating. Then, as a means of ground applied primer, wherein such composition is applied on the end face of the nail. It should be noted that modern primers are absolutely safe for the nail plate, because they do not contain methacrylic acid. Observing the condition for the strengthening of weakened nails, a master that performs gel nail design, the coating will protect against undesired delamination.
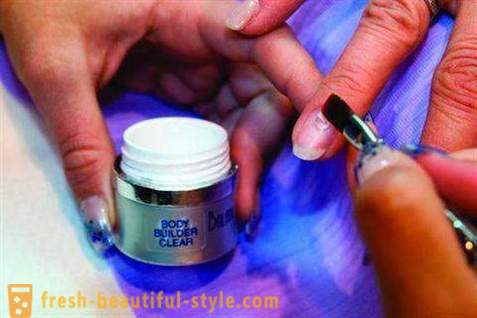
The fourth stage. The application of the base gel
Working with basic gel is considered to be determined by the procedure to create a successful and long-lasting coverage. The base gel is a strong basis, responsible for the adhesion of natural and artificial nail keratin polymer. In this framework prevents the penetration of dyes into the nail plate. So, quality, conducted using a tool such as gel nail, nail design is impossible without applying the basic fundamentals. The material is first applied, prihvatyvaya brush small droplet. Then cover the nail rubbing movements, starting from the free edge, not forgetting the end. Motion is then carried across the plate from top to bottom.
The base gel nail polish (design, photos you see as a visual illustration) in any case should not fall on the skin and cuticles. After applying the composition fingernail immediately placed under a UV-lamp. In this process, there is also a lot of nuances.
applying the Secret
All materials must be applied thinly. Movement is carried out across the area of the nail from top to bottom. Base gel nail polish (design, photos posted in this publication) in any case should not come in contact with the skin or cuticle. After completion of the application of the nail composition instantly placed in a UV-lamp for 1 min for polymerization. When the base is dry base, to align the brush dispersion layer. If we make this procedure, colored lacquer will go uniformly, otherwise the composition may be spread to the side rollers of the nail plate as well as to assemble on the surface in the form clots. As you can see, all the time-consuming and laborious work is performed when the master puts the base gel nail. nail design becomes more artistic painting based on the wishes of the client or the modern fashion trends.
Step Five. Applying color gel polish
Here we come to the climax of the whole process, in which, too, there are many nuances. First of all this applies to the application of coating color, which is carried out in thin layers. For bright shades gel lacquer coating must be twofold. Each layer should be polymerized in the UV-lamp for 2 minutes. To increase the process speed can be used LED-lamp, since the polymerization colored layer extends therein in just 30 seconds.
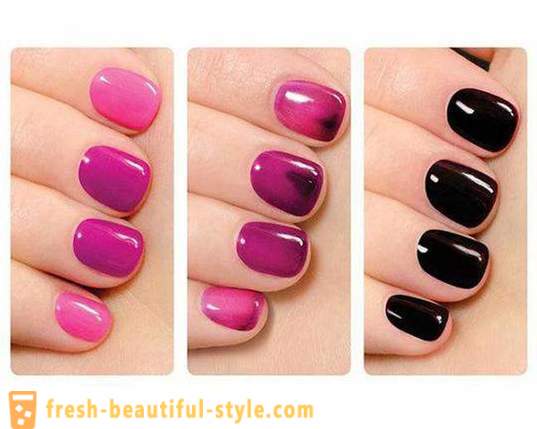
Features black color
There is also a feature of the application is very dark shades. Black gel nail polish (photo nail design masters, we present to your attention in this article) is applied in a thin layer 3 instead of two dense. Indeed, as a rule, masters faced with partial neprokrashivaniya after applying the first layer of black varnish gel. And you can not forget about the back ends. As for fashionable shades, forms the nail plate and its length, as well as the characteristic painted patterns, the masters of nail service follow the fashion trends in painting and timely acquire design trends gel varnish.
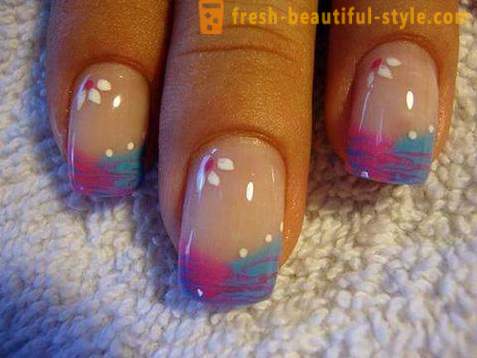
Step sixth and final. Covering finishing gel
But the finish fixing the gel should be applied slightly thicker than the base and colored. Insufficient drying layer lead to premature disappearance of gloss glossy coating. For best polymerization each nail as in the case of colored gel varnish was placed in a UV-lamp for 2 minutes. There is one more nuance. The very glossy shine nail treatment creates a special composition that removes dispersion from the coating layer. All of the above rules also apply to a procedure such as the design of short nails gel lacquer, which is especially important in recent years.


- Most popular
-
 The hottest T-shirts: photo ideas
-
 German national costumes for women, men and children. Ethnic garments
-
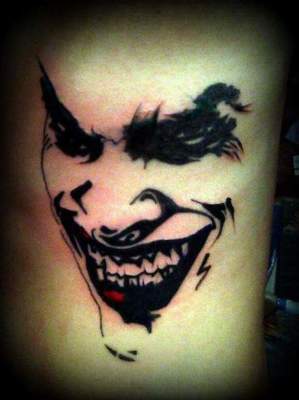 Joker Tattoo: symbols and photos
-
 Eyebrows wide. To go wide eyebrows? Fashion for thick eyebrows
-
 Hockey player Wayne Gretzky: biography, personal life, sports career
-
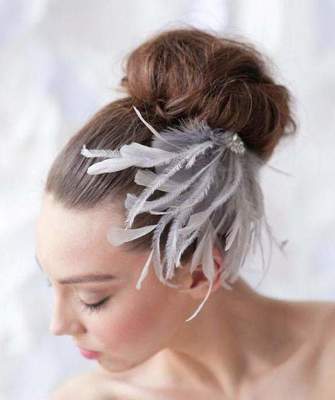 Beautiful wedding hairstyle "bump" with his own hands. Hairstyle "bump" for each day
-
 Polynesian tattoos: the meaning of symbols
-
 Round face. Top women's haircuts and hairstyles for round face shapes (photo)
-
 Hairstyles for girls 10 years old in school
-
 Hovercraft. Specifications and photos
-
 Knife "KARAMBIT": a photo, price, drawings and diagrams. How to make a knife "KARAMBIT" with his own hands?
-
 Making the perfect wedding nails design
-
 How to get rid of cellulite on legs? Exercises for the legs of cellulite
-
 6 street workout that you can do with a guy
-
 The main rules of Kate Middleton's style