Gel nails Correction: step by step instructions. Correction of extension nail gel
For many women today are relevant problems such as brittleness and poor nail growth. Also, frequent mechanical defects as a result of injury or damage. using a procedure such as gel nail extensions beauty salon manicure solve this problem.
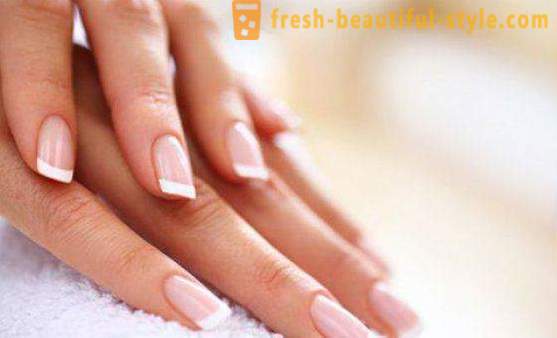
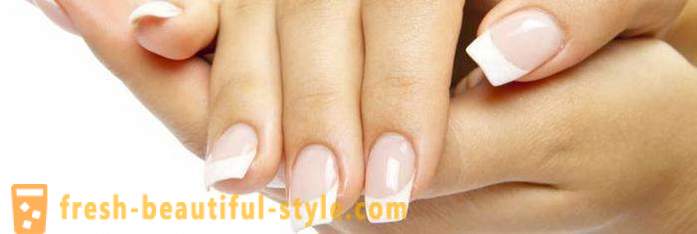
The optimal solution to many problems with nails
With the help of a gel nail can be strengthened, to hide all sorts of defects, create the desired length and shape, to decorate a variety of figures and much more. After polymerization, the gel is sufficiently ductile structure that allows the creation of artificial nails as much as possible similar to natural. However, due to the fact that the nail is constantly growing, the material is also displaced. To return to the original nails a beautiful view, it is necessary to spend correction regularly.
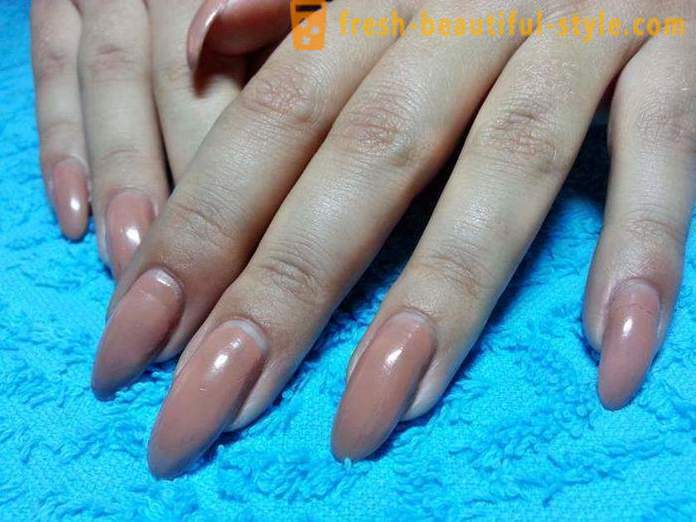
Such a procedure, the correction of extension gel nails in a beauty salon is one of the most popular services. Usually 3-4 weeks nails grow a few millimeters, disturbed architecture of the artificial nail, shifting the highest point - the apex. All this contributes to fragility. It is also possible delamination of the material.
Types correction
There are several types of correction:
- simple and complex correction nail gel;
- mini-correction;
- Correction of nails French-gel;
- correction to the restoration of the design;
- Correction nails gel varnish.
It is important to
Before beginning any correction master should pay attention to the overall health of the nails and the client exactly what occurred violations and failure, where flaking material. Sometimes the cause delamination of artificial nails can be a temporary antibiotics, hormonal disorders, excessive sweating of the hands, ignorance of the rules of operation of artificial nails. Excluding all non-technical reasons, the wizard selects the desired material.
Materials and equipment
The following supplies and equipment for the gel to be improved:
1. Gel. The master selects the 3- or 1-phase system. It needs a basic gel, transparent gel to create a substrate, camouflage gel white gel jacket.
2. Degreaser.
3. Primer. The acid or without acid content. It is intended to create a good adhesion with gel natural nail plate.
4. Gel topcoat. It is designed to create a protective layer and polishing the nails ready.
5. The liquid to remove particulate (adhesive) layer on the surface of the gel coating.
6. Paper form.
7. Brush for nail gel.
8. UV-lamp capacity of at least 36 Tues
9. Milling cutter or set of saw blades of varying abrasivity (100 to 240 Gritti).
Every correction is different in complexity of execution, the amount of elapsed time and consumables. Easy Gel Nail correction is most prevalent. Technically, it is the base.
Simple correction is always planned in advance and carried out after 3-4 weeks. In its process material is spread only in the regrown nail area and side rollers. The following instructions tell you how to make gel nails correction in 1 hour. simple procedure, but it requires patience.
Turn-based gel nail correction
Step 1: The hand of the master and the client are processed with a disinfectant solution.
Step 2: The procedure is performed, if necessary, the European manicure.
Step 3: according to the customer shortens the length of the nail, to shape the free edge.
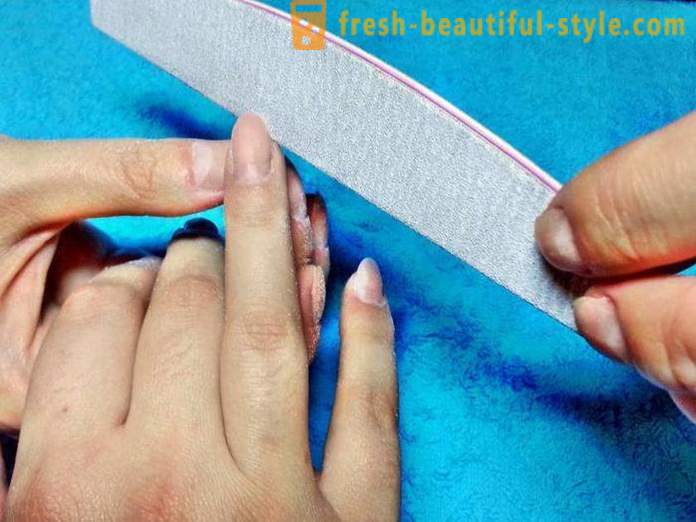
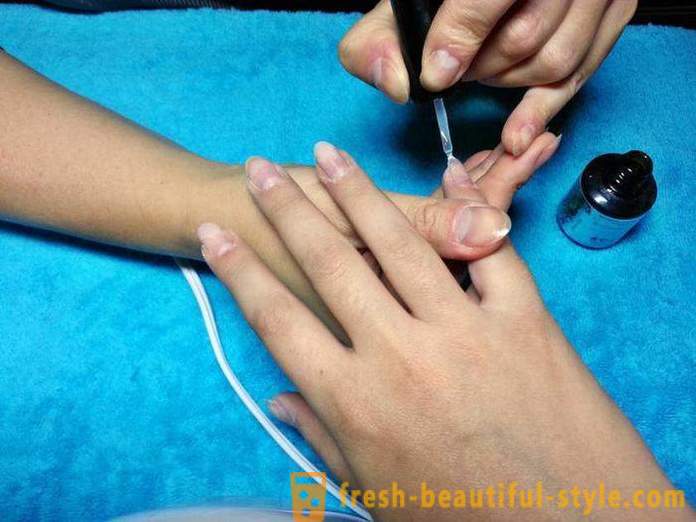
Step 4: Treat the places with a router or saw blade, where the material peel off. Also aligned the entire surface of the nail. It cuts away the highest point since the symmetry is broken. With the nail removed regrown gloss using a milder abrasive sawing 240 Gritti. Work with saws must be very careful not to saw and not to injure the natural nail. Once manufactured washed down, with a brush, all the dust is removed well. Step 5: The nail plate is degreased. Regrown part of the nail is treated primer. He applied a very thin layer. Too much of it can be one of the causes of flaking material.
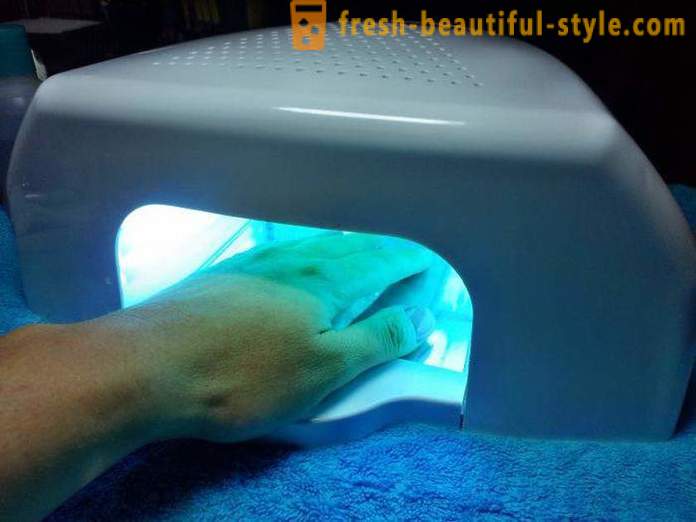
Step 6: if the master uses the 3-phase gel system, it causes the base gel layer on the entire nail surface. This layer was polymerized in UV-lamp for 2 minutes. Sometimes during gel polymerization client may experience discomfort and burning on the surface of the nail plate. In this case, it is recommended to remove the hand from the lamp for a few seconds and placed again as soon as the reaction stops.
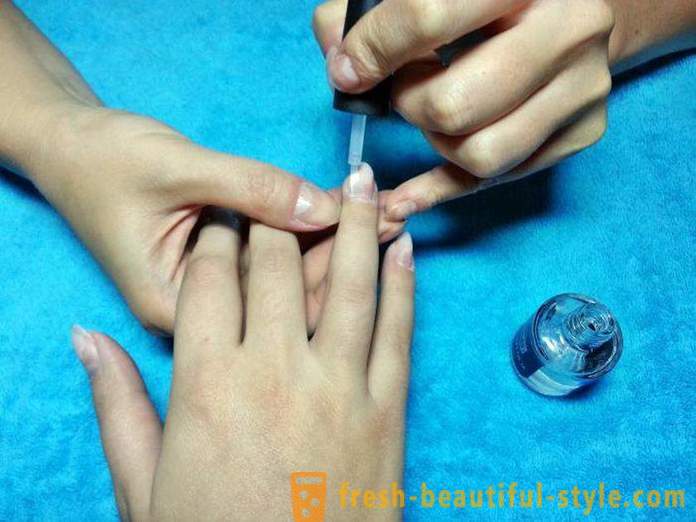
Step 7: without removing particulate layer is applied a small amount of gel on the regrown part of the nail and uniformly distributed. Do not allow contact with the cuticle of gel or flowing to the skin the client hands. Distance from the gel to a cuticle should be about 1/2 millimeter. This layer also polymerized in UV-lamp for 2 minutes.
Step 8: The second layer of gel nail restored architecture and created the highest point - the apex. This layer was polymerized in UV-lamp for 2 minutes.
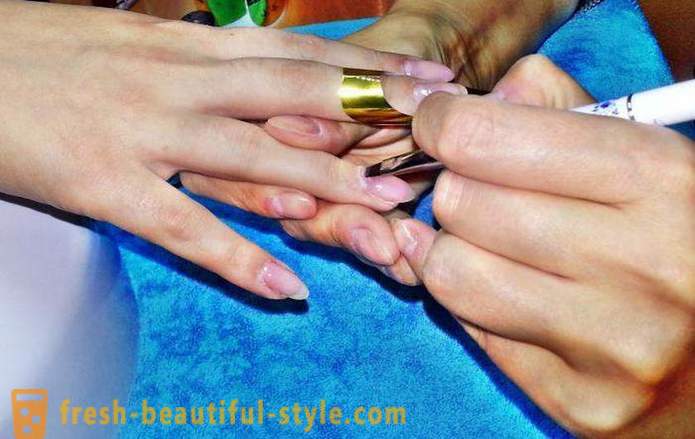
Step 9: After the new nail is created, it saw round to even out the surface of the gel and to give final shape to the nail. Zone at very carefully cut away the cuticle.
Step 10: the entire surface is covered with a finishing nail gel and polymerized in the UV-lamp for 1-3 minutes. When used with the particulate gel layer, after the polymerization is removed with a special liquid.
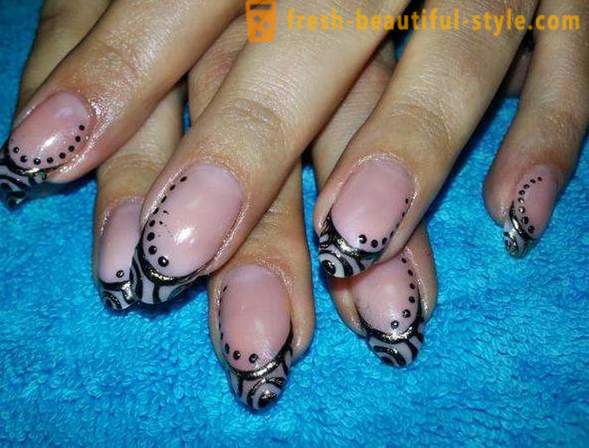
After the new nails are ready, we can offer the customer to cover their decorative paint or decorate a picture. In conclusion, in the cuticle is rubbed nutritious oil.
The complex correction
Complex gel nail correction is carried out in cases where the time of the build-up and before the correction was more than 4 weeks. Usually, at this time there are clearly breaking, and the material has already moved to the middle of the natural nail. This correction is almost corresponds to the complete nail. In the process complicated correction master cut away all material to the substrate. Then, the new nail is completely created gel with all the proportions. During a complex correction is often performed or restored aquarium design or a French manicure. It is important to adjust the reverse side of the nail. Required are cut with a router all irregularities or detachment, a new arch.
Correction of the French manicure gel
It should be noted that the correction directly French manicure is somewhat different from the usual correction. You can restore the jacket by a complex correction and sawing, and you can use the method of removing the free edge. In this case, the free edge completely cut away a router or sawing. It is given the right and the symmetrical shape of a smile. Washed down nail surface, and general training carried out by the same steps as for a simple correction. Then under the natural nail is enclosed special paper form. It will serve as a worktop to create a new free edge. White gel is laid out end to end with the processed edge. After its polymerization opilivaem nail in accordance with the rules, given the desired shape and length of the free edge. At the end of a French manicure coated topcoat.
Typically, the time of a complex correction or jacket is 1, 5-2 hours depending on the selected design.
Mini-correction
Fastest gel nails correction - it's miniature. It takes no more than 15 minutes. She performed after 5-6 days of the nail. If after this time there were small detachment of material, they gently zapilivaem nail file for natural nails. The entire surface is covered with a fixer or topcoat.
correction by gel lacquer
If the client already tired of extension of the nail, but does not want to file away completely, it is possible to propose a correction nail gel polish. This is a great way to gradual removal of artificial material. In this case, the nail is processed in accordance with the instructions for carrying out a simple correction. During washed down border of artificial material is compared to the natural nail surface, without forming an apex. Nail attached to the desired shape and length. After he washed down and pretreatment primer entire nail surface is coated with a thin layer of base gel varnish. Next, a layer 2 gel varnish and topcoat according to the technology applied. Covering gel lacquer is not subject to correction. After 3 weeks all the material will be simply deleted. If the client wishes to increase again nails, the wizard will complete gel nails. The correction will continue to take place as every 3-4 weeks.


- Most popular
-
 The hottest T-shirts: photo ideas
-
 German national costumes for women, men and children. Ethnic garments
-
 Joker Tattoo: symbols and photos
-
 Eyebrows wide. To go wide eyebrows? Fashion for thick eyebrows
-
 Hockey player Wayne Gretzky: biography, personal life, sports career
-
 Beautiful wedding hairstyle "bump" with his own hands. Hairstyle "bump" for each day
-
 Polynesian tattoos: the meaning of symbols
-
 Round face. Top women's haircuts and hairstyles for round face shapes (photo)
-
 Hairstyles for girls 10 years old in school
-
 Hovercraft. Specifications and photos
-
 Knife "KARAMBIT": a photo, price, drawings and diagrams. How to make a knife "KARAMBIT" with his own hands?
-
 Making the perfect wedding nails design
-
 How to get rid of cellulite on legs? Exercises for the legs of cellulite
-
 6 street workout that you can do with a guy
-
 The main rules of Kate Middleton's style