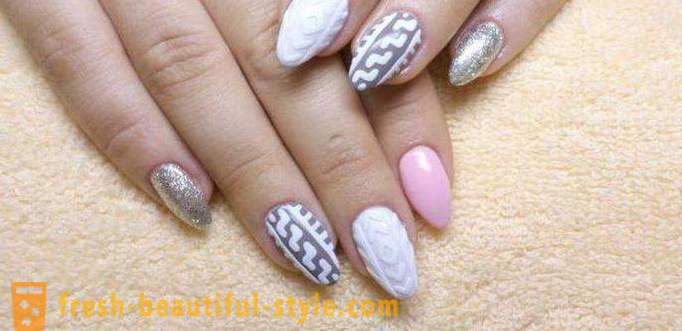
How to "knitted" Manicure: masterclass
"Knitted" manicure nail broke into the world of design is rapidly and won the hearts of lovers of the original and "cozy" nail decoration. It looks impressive, as is done with little or no problems.
Features "knitted" manicure
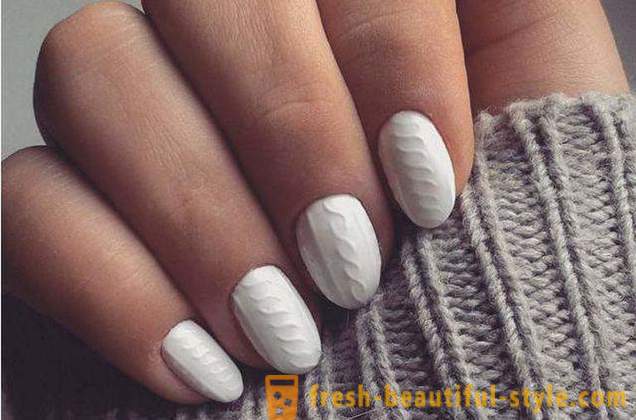
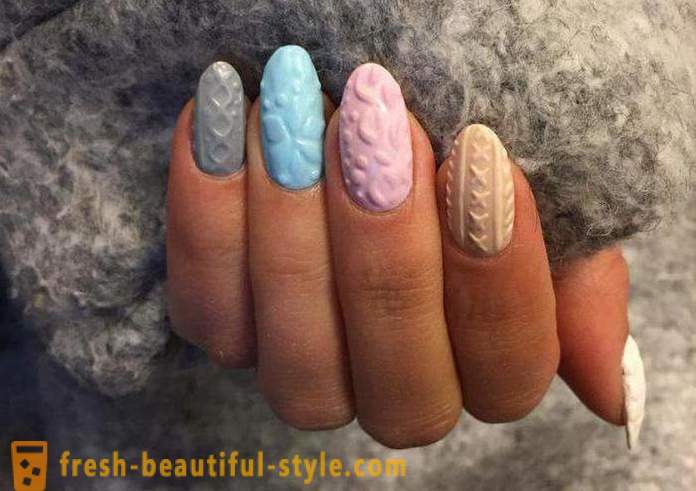
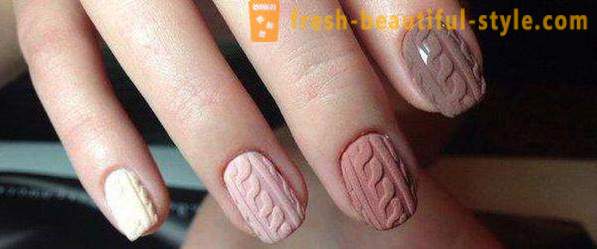
Tangled strings interesting braids, zigzag lines, diamonds and double strips - these are the usual patterns that are associated with the majority of knitted sweater. They moved in the winter nail decor, which is simply referred to manicure "knitted". The pattern is usually done in the same shade as the background coating. If you use gel-lacquers, the result is three-dimensional, which adds comfort design.
The advantages and disadvantages of this design
Advantages of "knitted" manicure:
- design can be performed on the nails of any shape and length;
- effectively looks like a glossy or a matte finish;
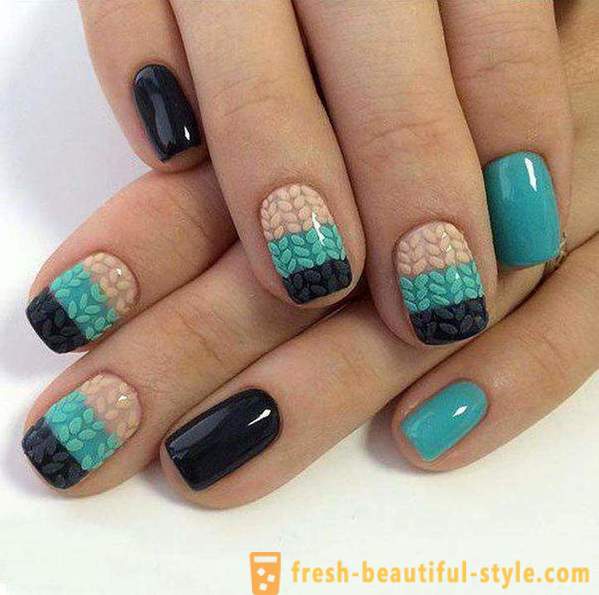
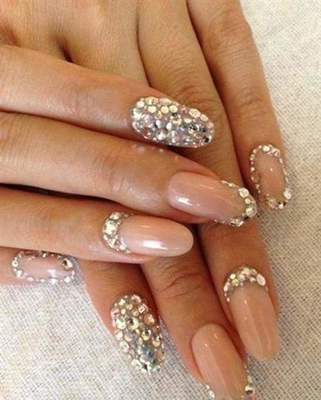
- has a wide field for the imagination, because you can not just paint different patterns, but also to combine colors to make a gradient effect Ombre or use additional materials (eg, crystals, velvet sand, acrylic powder and so on);
- can be carried out as gel polish and conventional.
The disadvantages of "knit" design include:
- When using lacquer nail plate light shades often dirty, dust and dirt falls under a pattern, and when trying to clean the pattern is overwritten.
- At long wear some small elements of the pattern may fall, which spoils the overall appearance.
- To create a manicure takes more time than usual painting nails or applying a simple pattern.
A phased master class
How to "knitted" manicure gel polish?
- First you need to prepare the nail plate. To do this, do the bath for five to ten minutes. Then taken the blade retracts and the cuticle. Then attached to the ideal form of nails.
- the nail plate to be treated special degreaser. It not only removes excess skin, particles of dust and dirt, but also fills the voids and helps achieve greater cohesion with nail varnish.
- Now came the turn base. It is applied not only to the entire plate but also on the tip of the nail, as if sealing it. Nails with a base are dried in the UV lamp. Drying time depends particularly on your instrument.
- Select the background. It can be used as a single color, or a combination of multiple (e.g., select one or two other nail hue make the gradient, and so forth).
- Dry nails in the UV lamp.
- Now, the most important stage - the creation of a pattern. There are several techniques of deposition: stripes, pigtails, tick. The simplest - the last one. To do this in the middle of the nail is drawn thin strip, and from it on both sides of the symmetrical ticks are placed.
- Quilted pattern is dried in the UV lamp.
- The result is necessary to cover the top-end coating: glossy or matt.
Options patterning
Only with practice, you can create complex patterns on nails. And for the beginning you can perform plain figures (for example, tick, as described above) or to learn first draw on a paper manicure. "Knitted" pattern on a simple sheet and perform fine brush, but you can not use a gel-lacquers and conventional.
Among the popular "knitted" drawings including the following:
- is a column of the cross in the center of the nail. A short distance from them is held on both sides of a vertical strip. Instead of crosses you can draw a tick, diamonds or just put points.
- Two wavy lines that intertwine with each other.
- As additional elements, columns of large or very small tochechek.
- to do the columns of the elements that are reminiscent of a zigzag, but have a smooth shape and rounded corners.
Inspiration can be found on your favorite sweater, just take a look at his pattern and copy it to your nails.
"Knitted" manicure: Appliances with a velvety sand and acrylic powder
Such a design is a more comfortable and has a different structure of the pattern surface. This technique is performed almost exactly like a regular "knitted" manicure gel polish. That is, at the beginning of the nail plate is prepared, applied to the base and the background (the first five points of the master class above). After each application of varnish nails need to be dried in the UV lamp. Now applied to the pattern. When the pattern is ready, it sprinkle acrylic powder or velvet sand. Thereafter, the nails can be dried in UV lamp. When the paint is dry, sweep the remnants of the design materials with nails and fingers with a brush or a soft brush. Masthead design coating with powder or velvet not apply.
"Knitted" drawing the usual lacquer
"Knitted" manicure with conventional paints, a smooth, rather than volume. He is as follows:
- The nail plate is prepared and polished.
- The nails are covered by the base layer, the surface became smooth and had good adhesion to the varnish.
- Apply background polish. Here it is necessary to wait until it dries.
- Now you can start creating your design. For this purpose, please be thin brush. With it you can easily create a neat contours and lines. The pattern is best applied in several layers. So will achieve the scope of similarity. Before applying a new layer to wait for the complete drying of the previous one. To manicure turned out spectacular, better use nail pattern of contrasting color to the background.
- ends with the design by applying a top coat.


- Most popular
-
 The hottest T-shirts: photo ideas
-
 German national costumes for women, men and children. Ethnic garments
-
 Joker Tattoo: symbols and photos
-
 Eyebrows wide. To go wide eyebrows? Fashion for thick eyebrows
-
 Hockey player Wayne Gretzky: biography, personal life, sports career
-
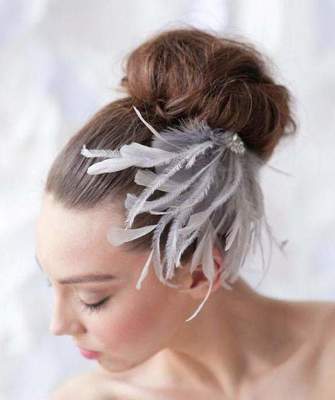 Beautiful wedding hairstyle "bump" with his own hands. Hairstyle "bump" for each day
-
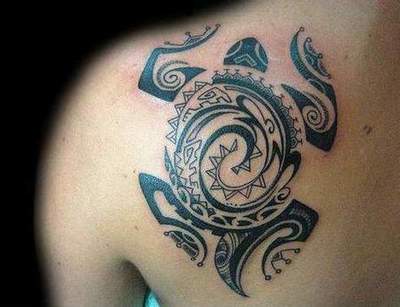 Polynesian tattoos: the meaning of symbols
-
 Round face. Top women's haircuts and hairstyles for round face shapes (photo)
-
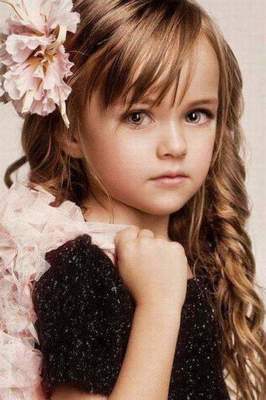 Hairstyles for girls 10 years old in school
-
 Hovercraft. Specifications and photos
-
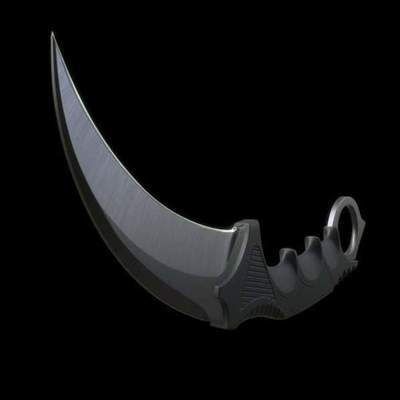 Knife "KARAMBIT": a photo, price, drawings and diagrams. How to make a knife "KARAMBIT" with his own hands?
-
 Making the perfect wedding nails design
-
 How to get rid of cellulite on legs? Exercises for the legs of cellulite
-
 6 street workout that you can do with a guy
-
 The main rules of Kate Middleton's style